
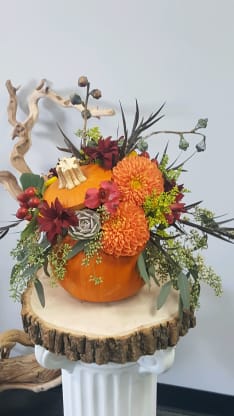
You know is fall when all your favorite pumpkin spice drinks and baked goods are back! Here at the flowers shop, we are having fun with pumpkins in a different way! Grab your very own pumpkin and join me for today’s DIY…
I thought it would be fun to show you how to make a centerpiece using real pumpkins. Remember, you can be as ambitious as you like. Don’t be afraid to have fun and make a one of a kind masterpiece. Try using white or heirloom pumpkins for an unexpected twist and don’t forget the glitter, the possibilities are endless!
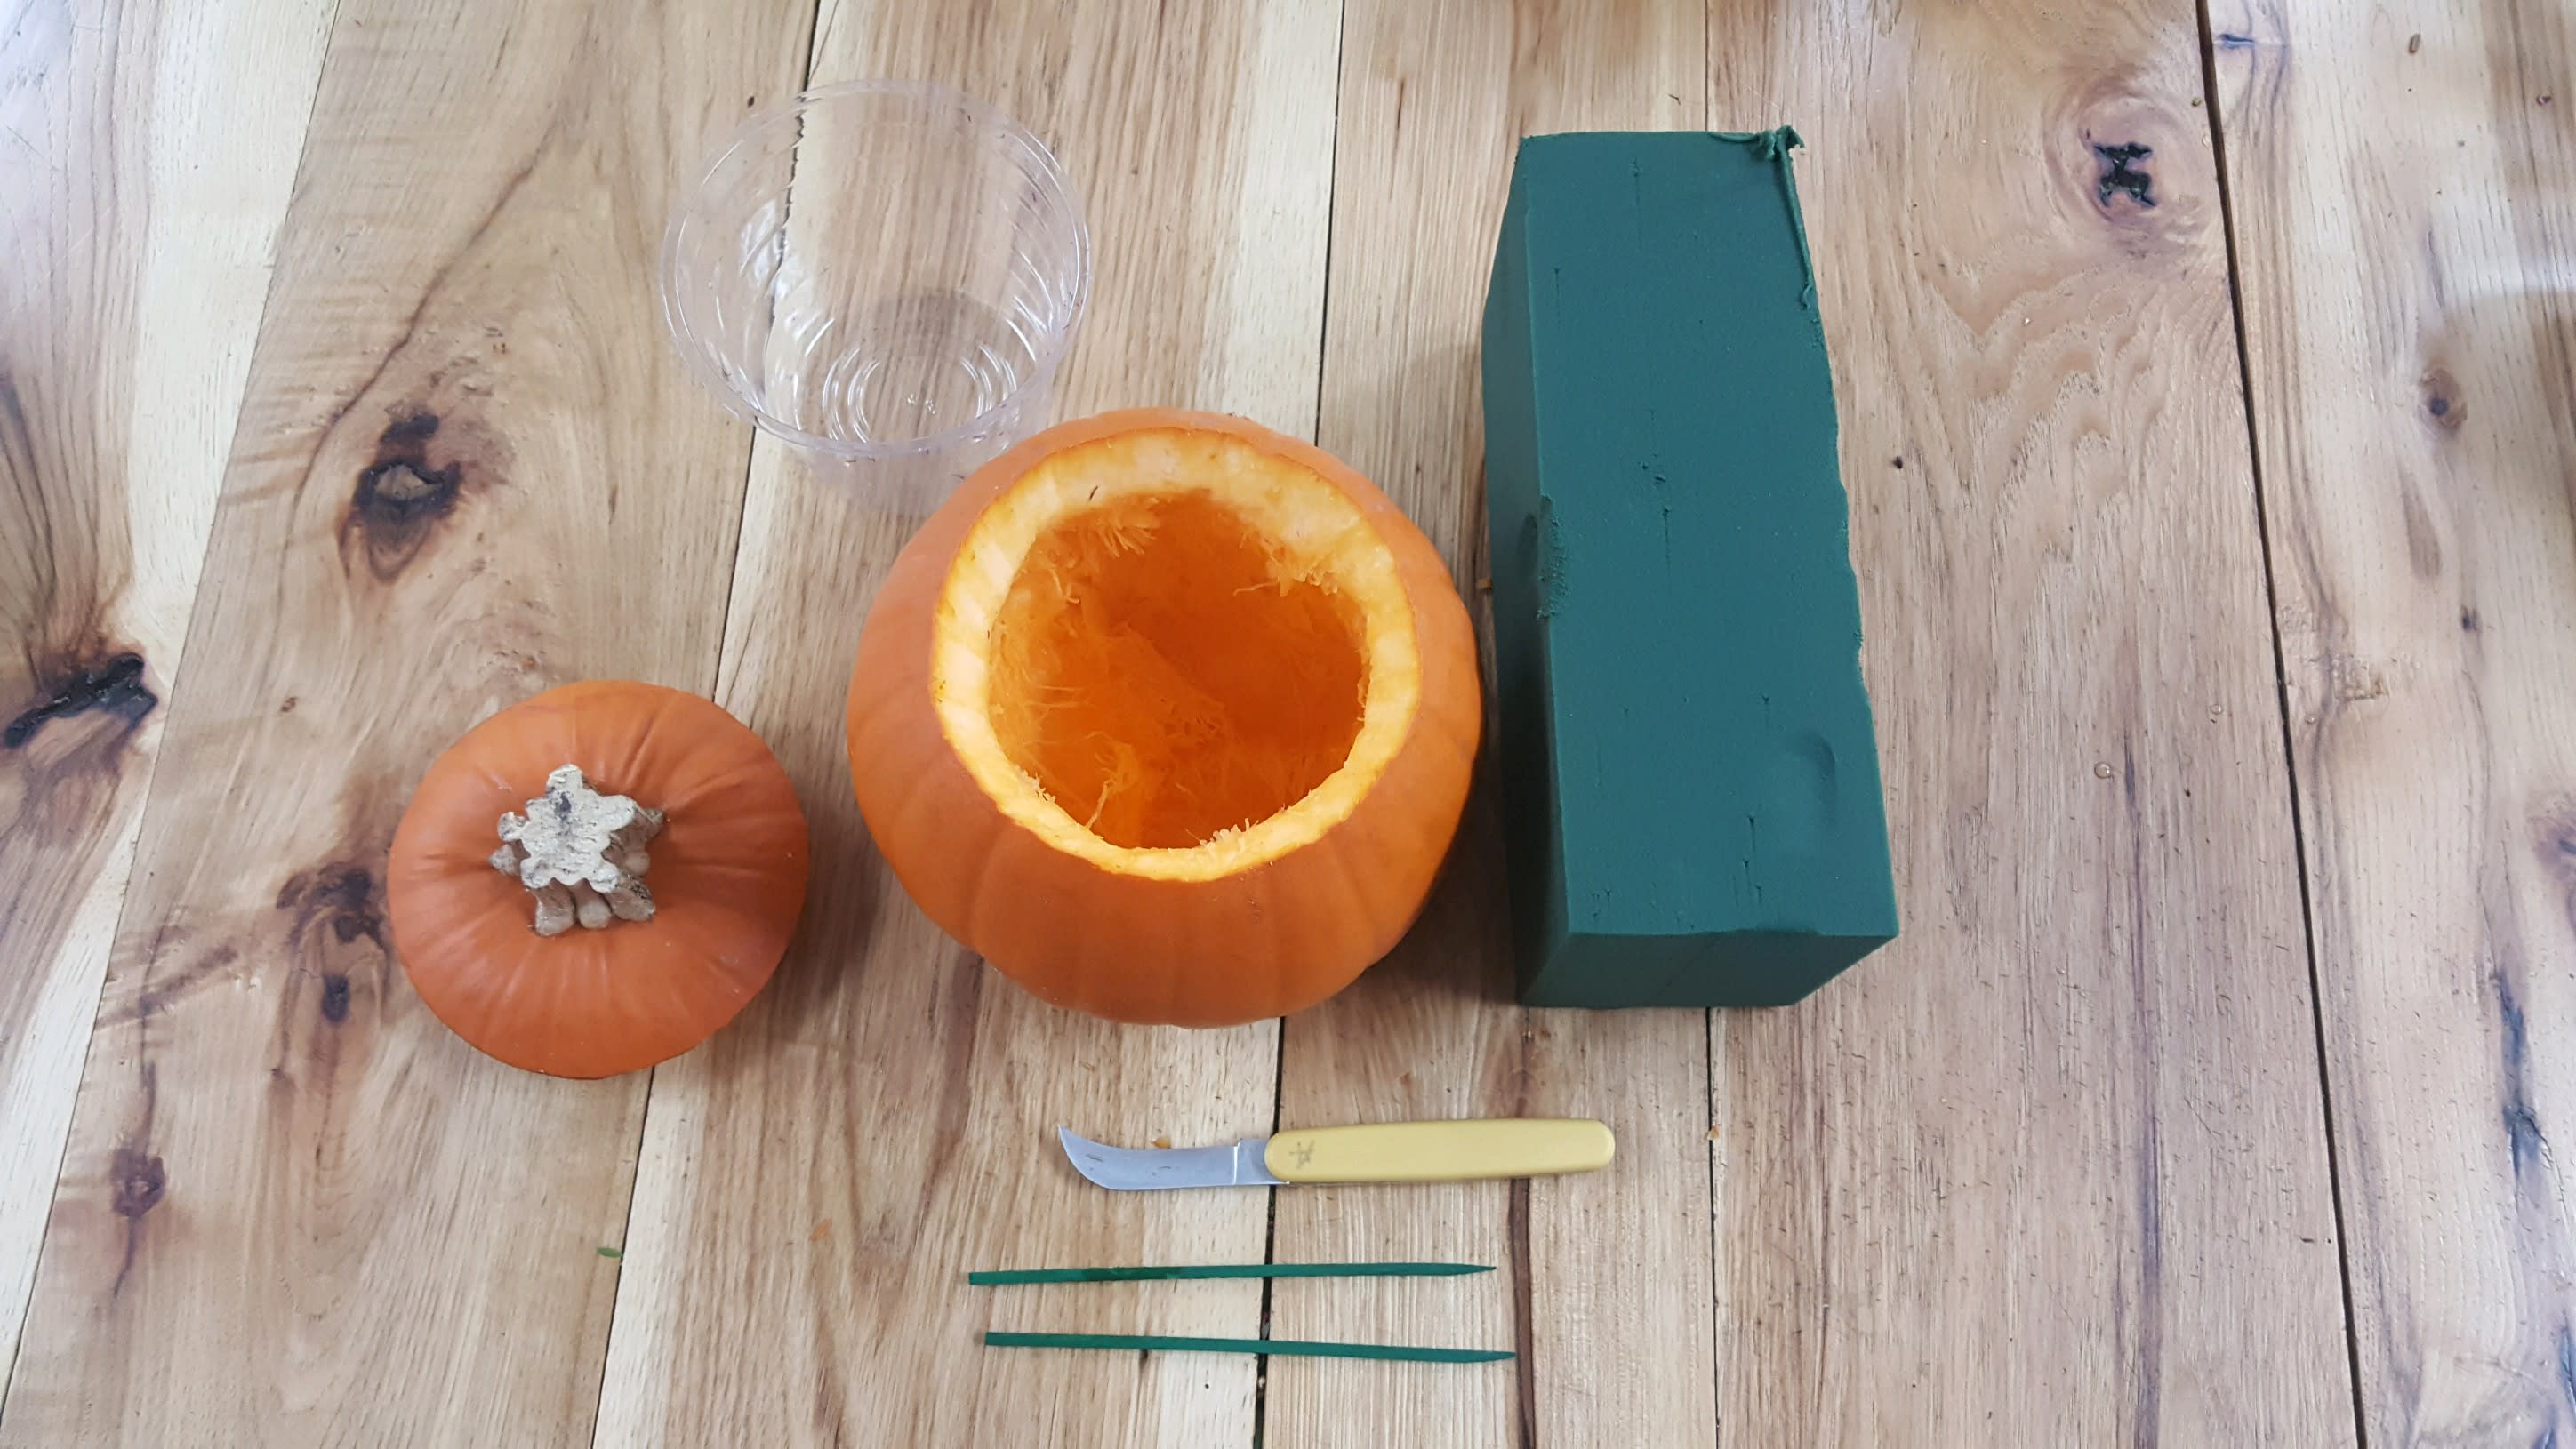
Supplies
Medium pumpkin
Knife
Large spoon
Oasis foam
Green Stakes (2)
Florals
Step 1
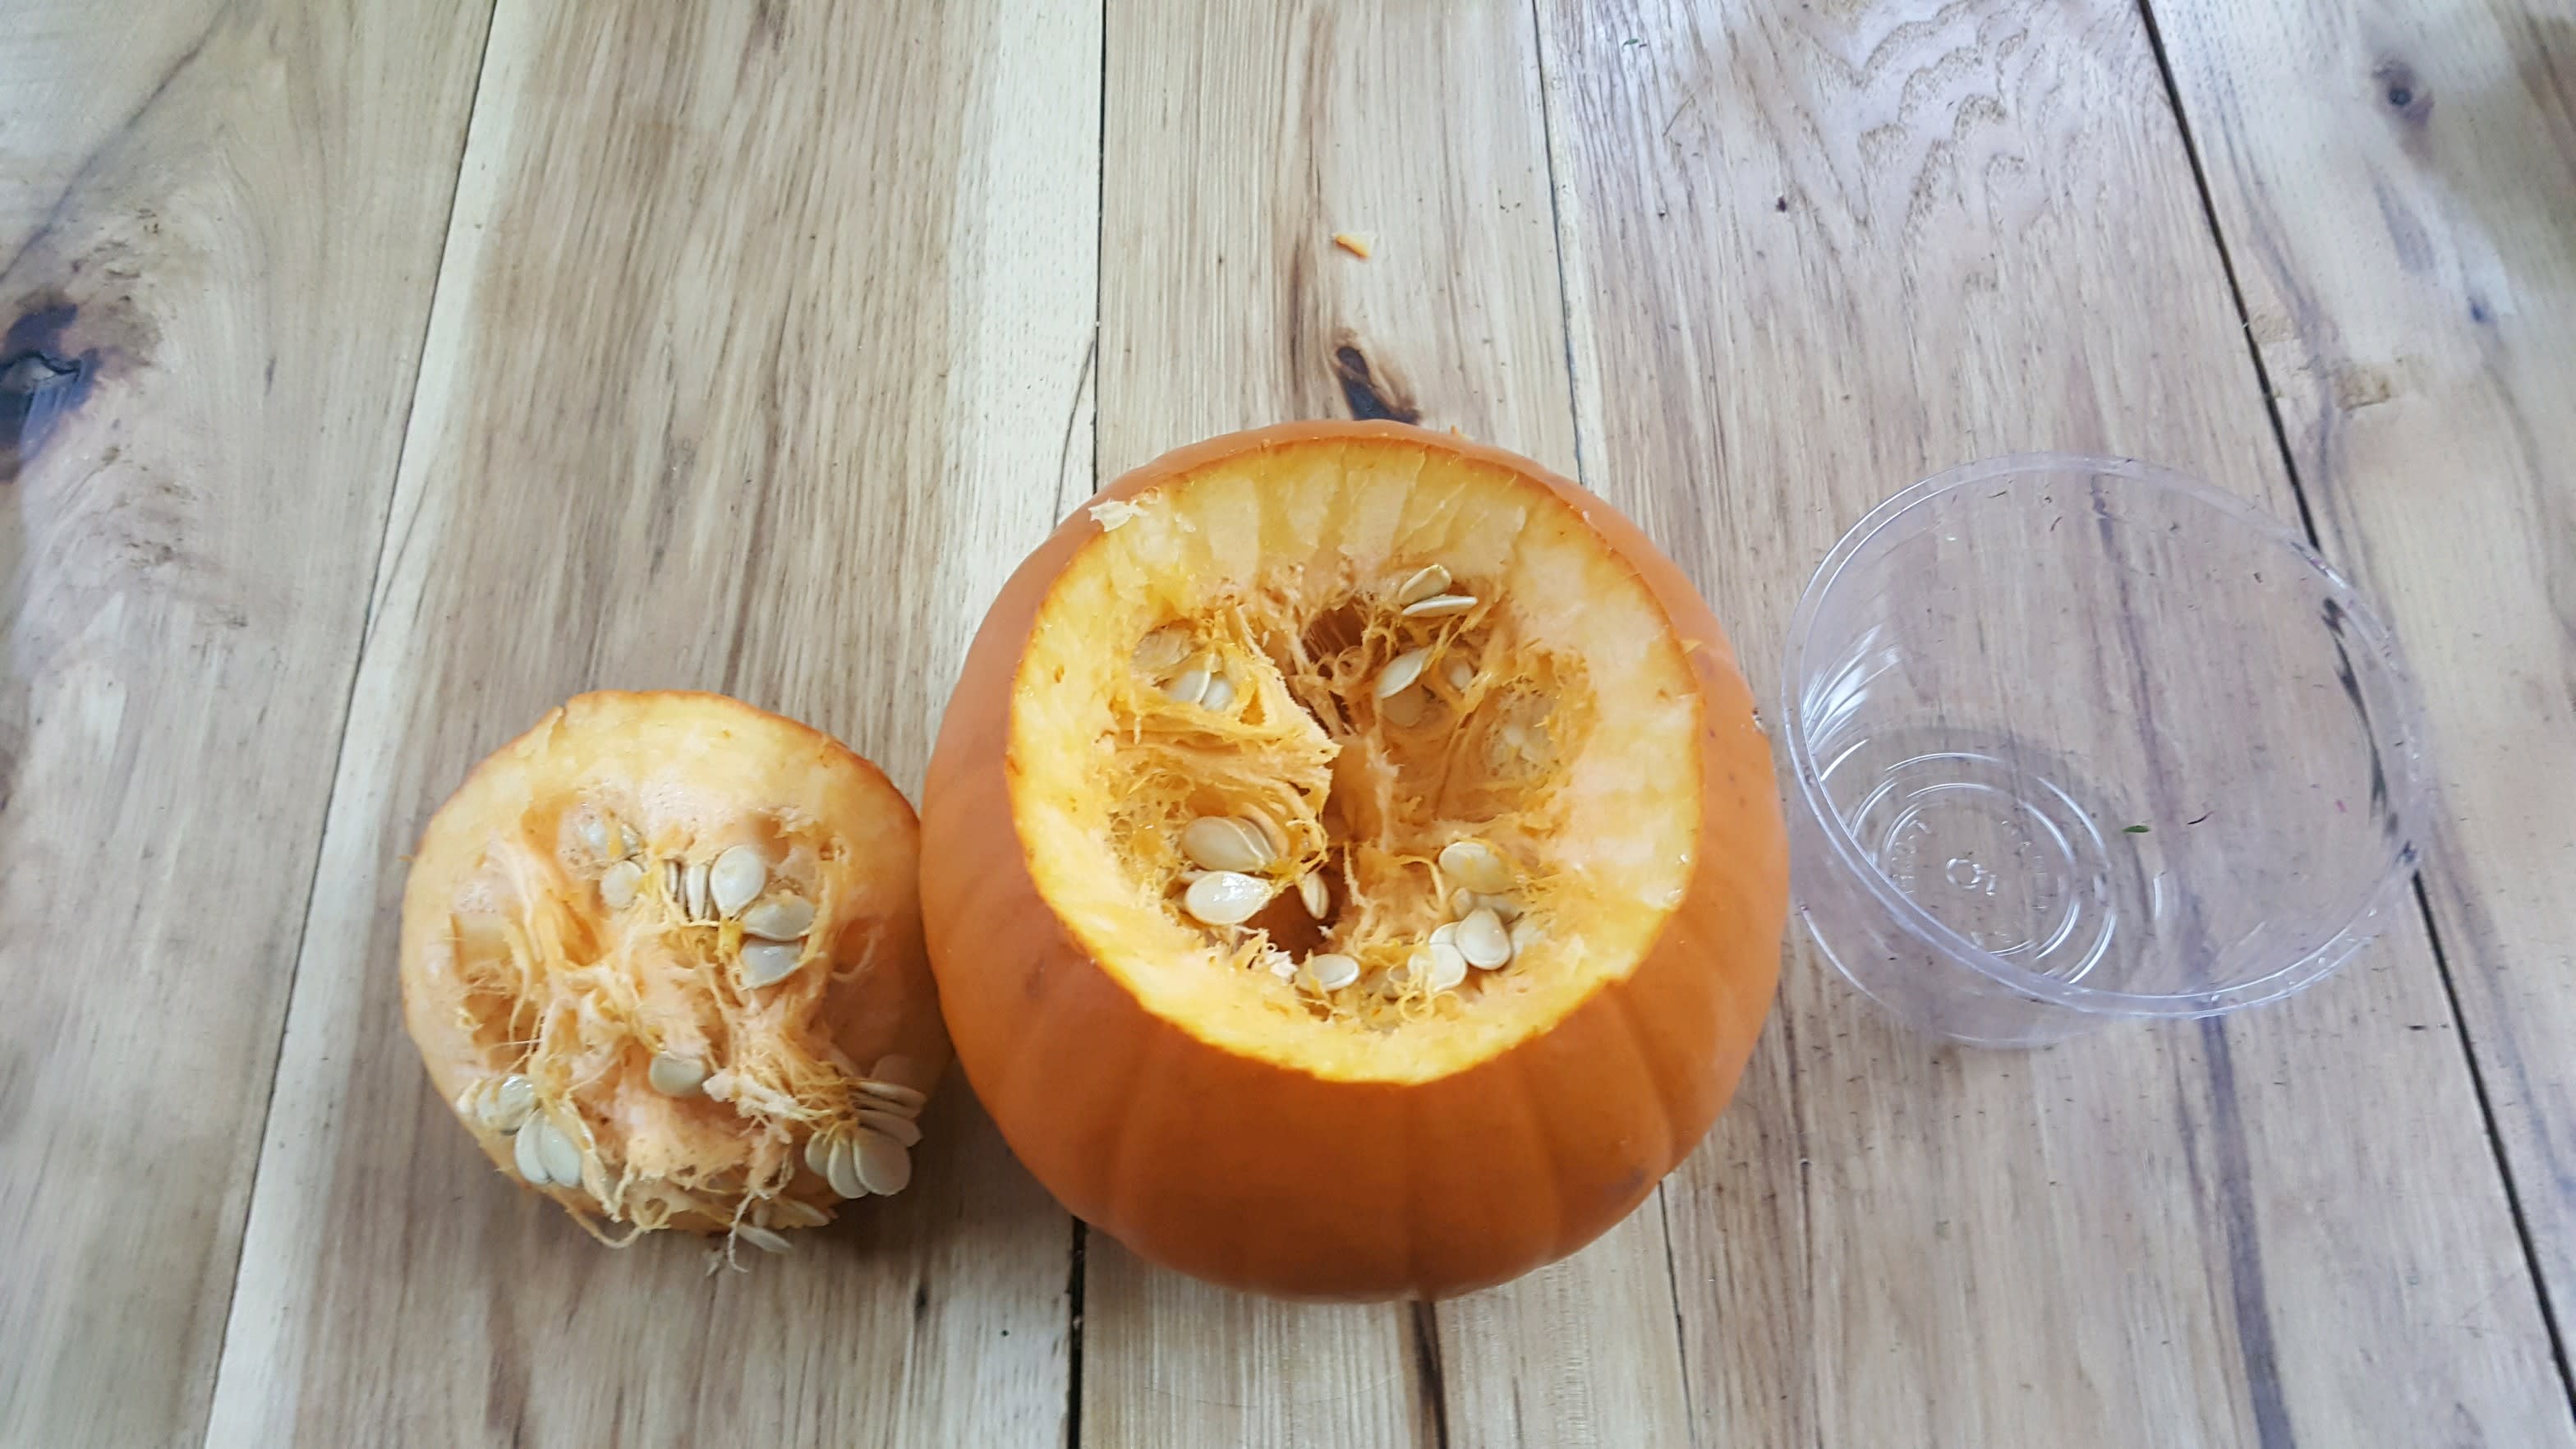
Once you’ve selected a pumpkin, use a sharp knife to cut out an 8in-10in top. TIP: Using a pen or marker to make an outline will make this much easier if you have never done it before.

Step 2
Tale a large spoon to scoop out the seeds.
Step 3
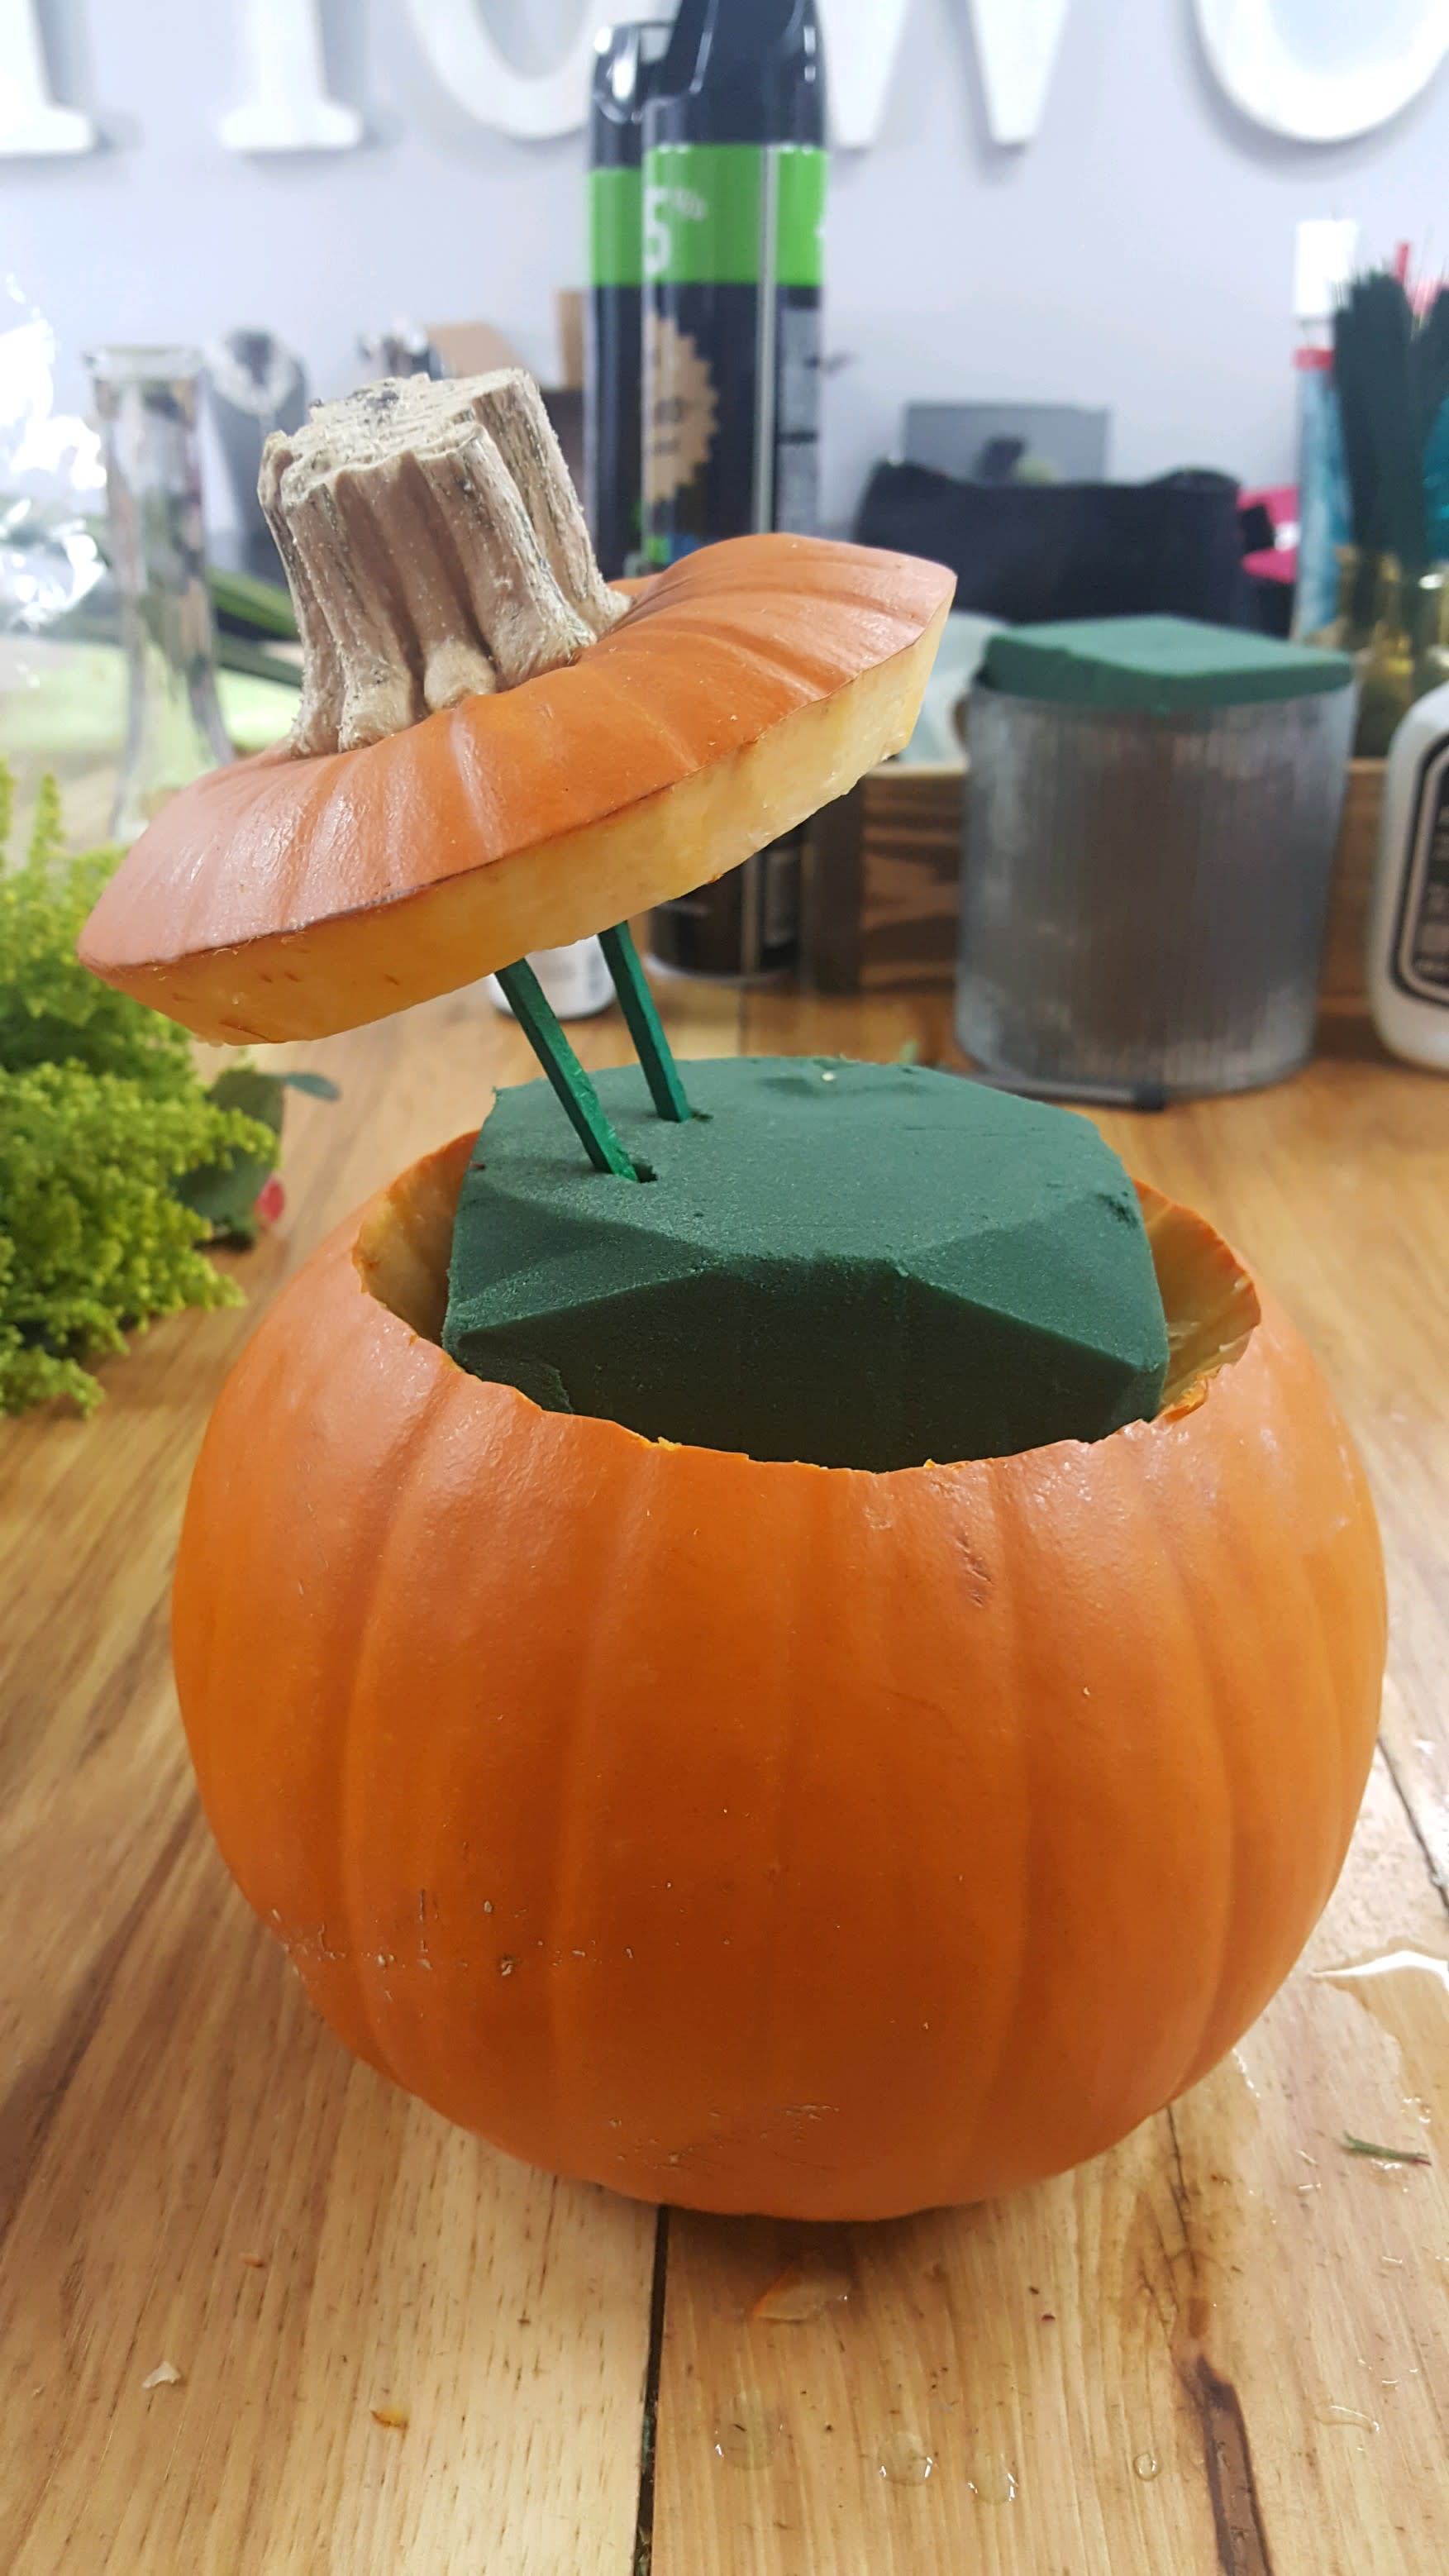
Soak Oasis Foam in a large container filled with water (do not press down on the foam, this will create air bubbles. Instead place the foam on top of the water and let it float, it will evenly soak up the water and sink to the bottom of the container). Once it sinks, it’s ready!
Step 4
Take you knife to cut the foam block, so it will fit in the pumpkin.
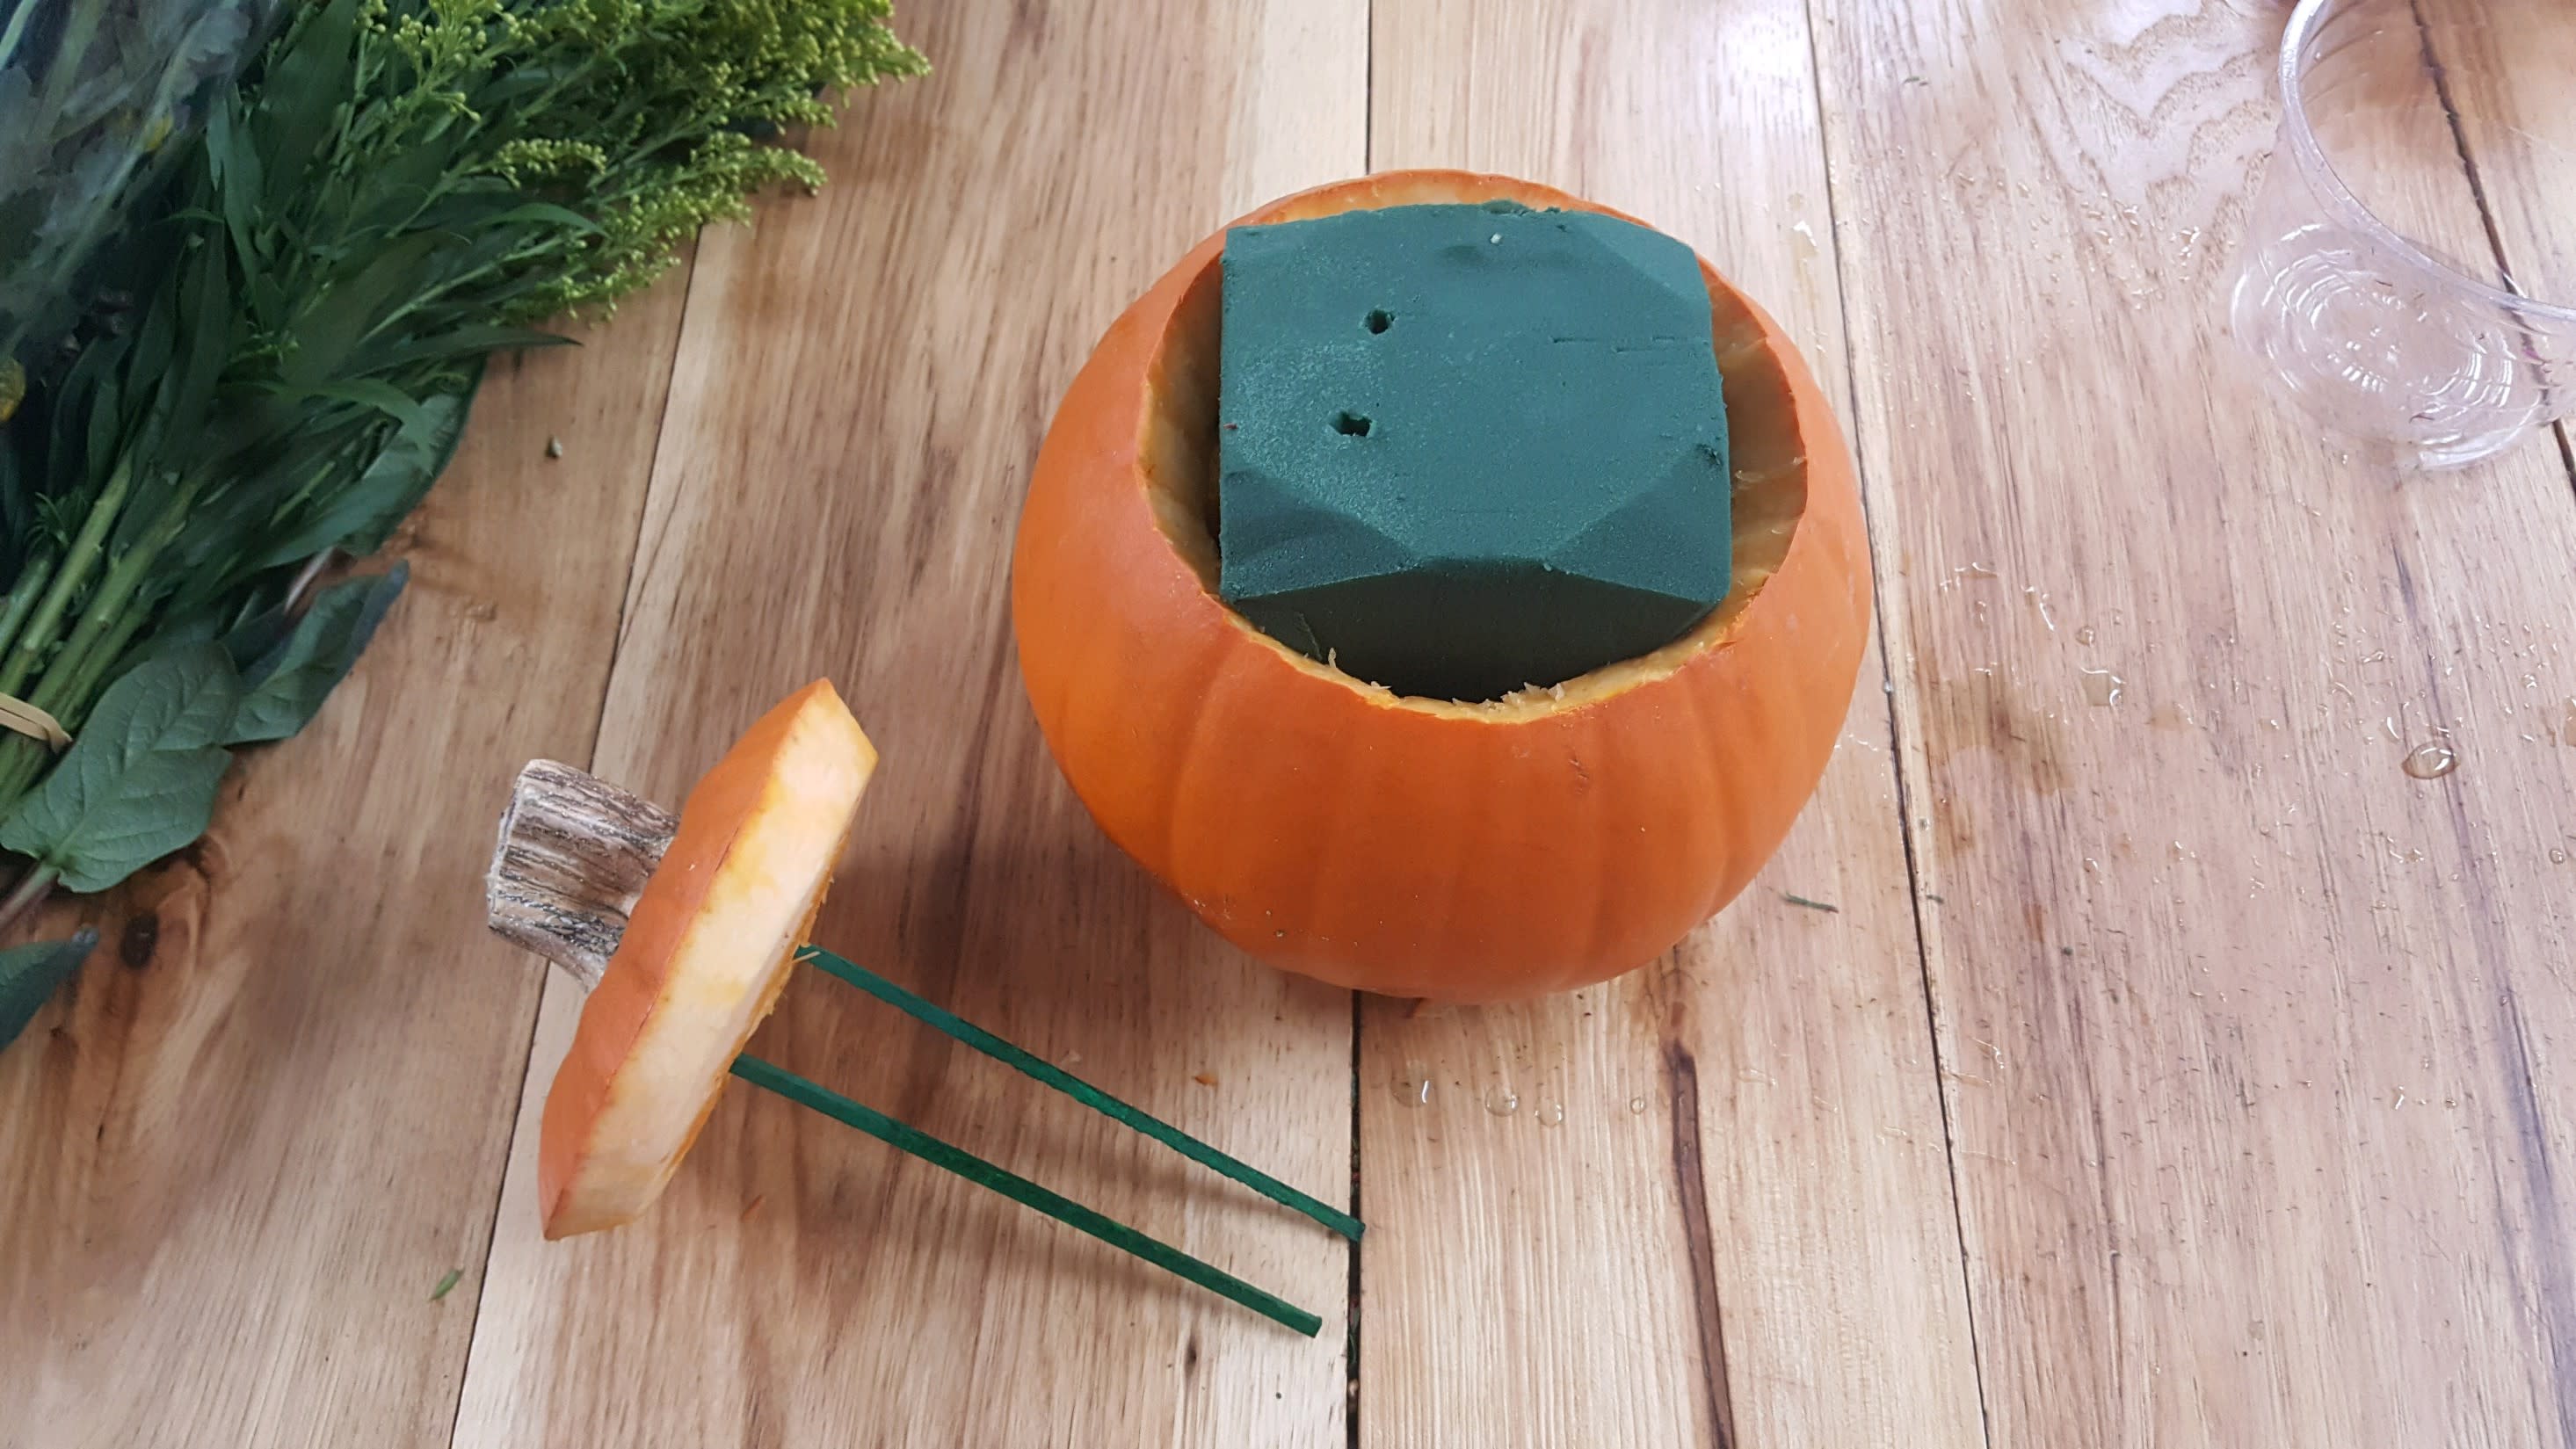
Step 5
Using two wooden stakes, puncture one at a time into the lid of the pumpkin. Try to go as far in as possible, but do not pierce trough.Proceed to insert the lid into the foam, allowing for much of the foam to be exposed.
Step 6
Using your choice of greens, start by lightly greening the arrangement. This will create your base for the design.
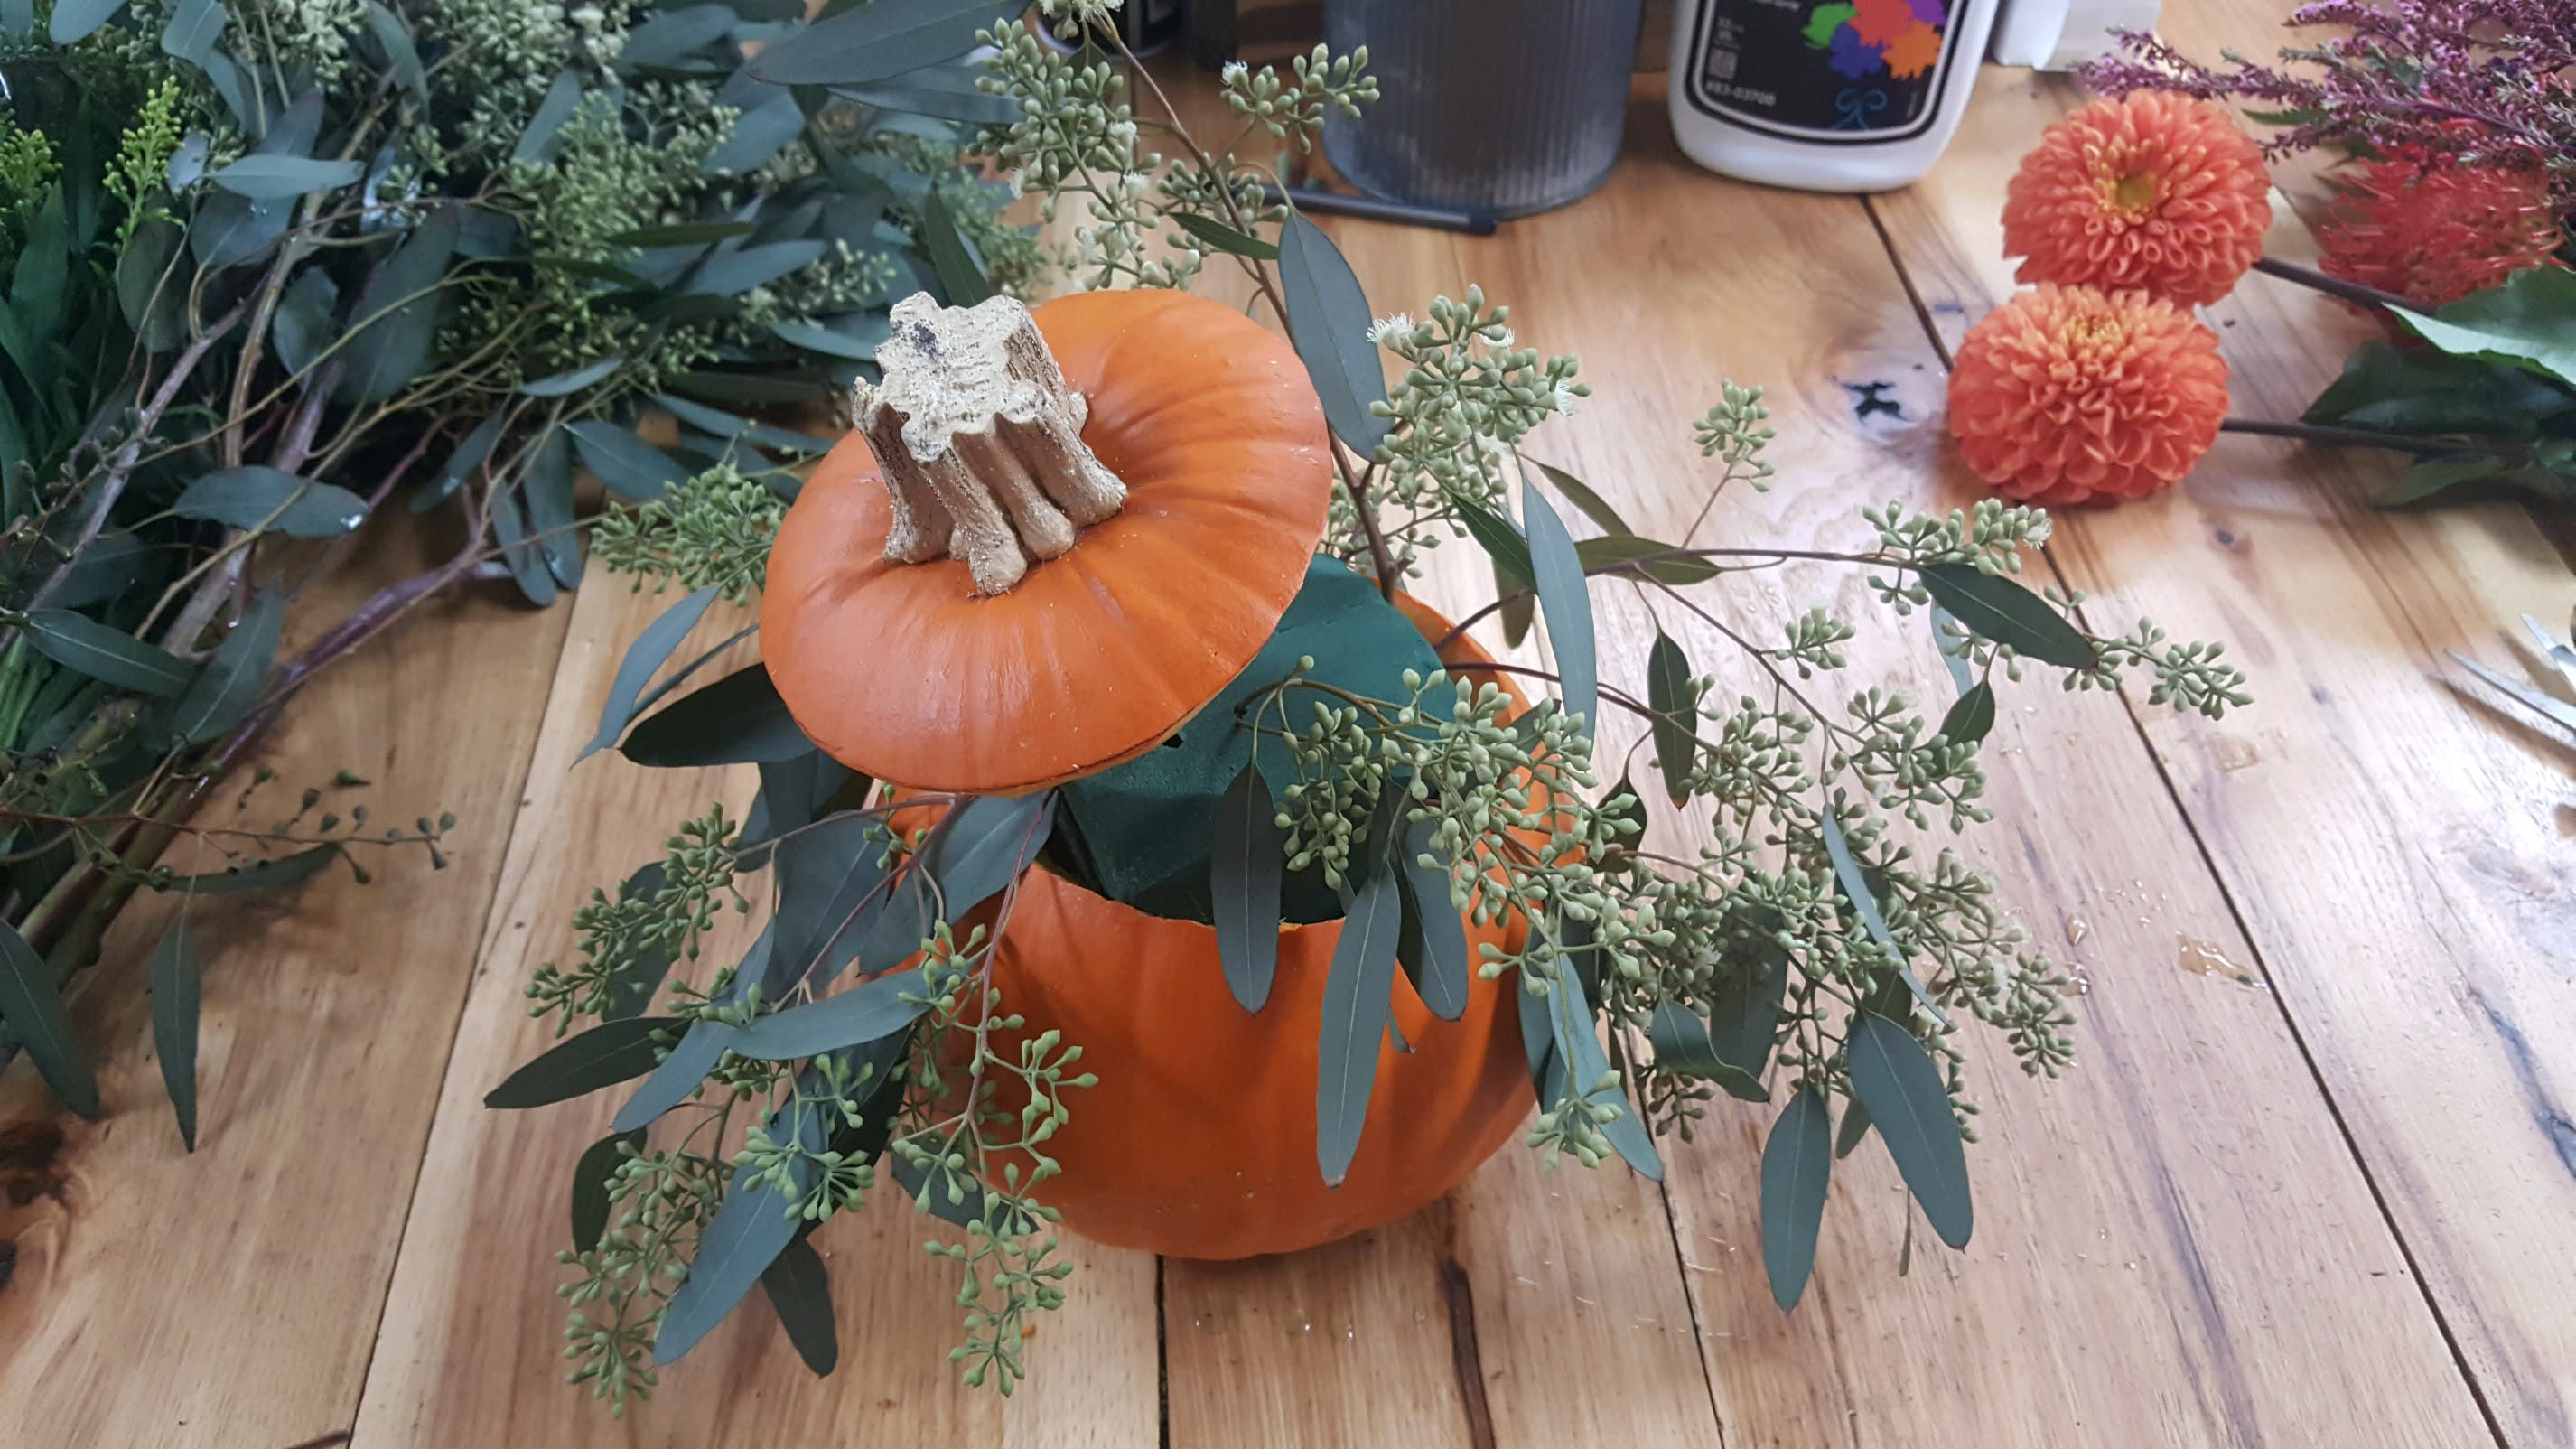
Step 7
Take the larger flowers, into the foam using them as focal points for the overall design.
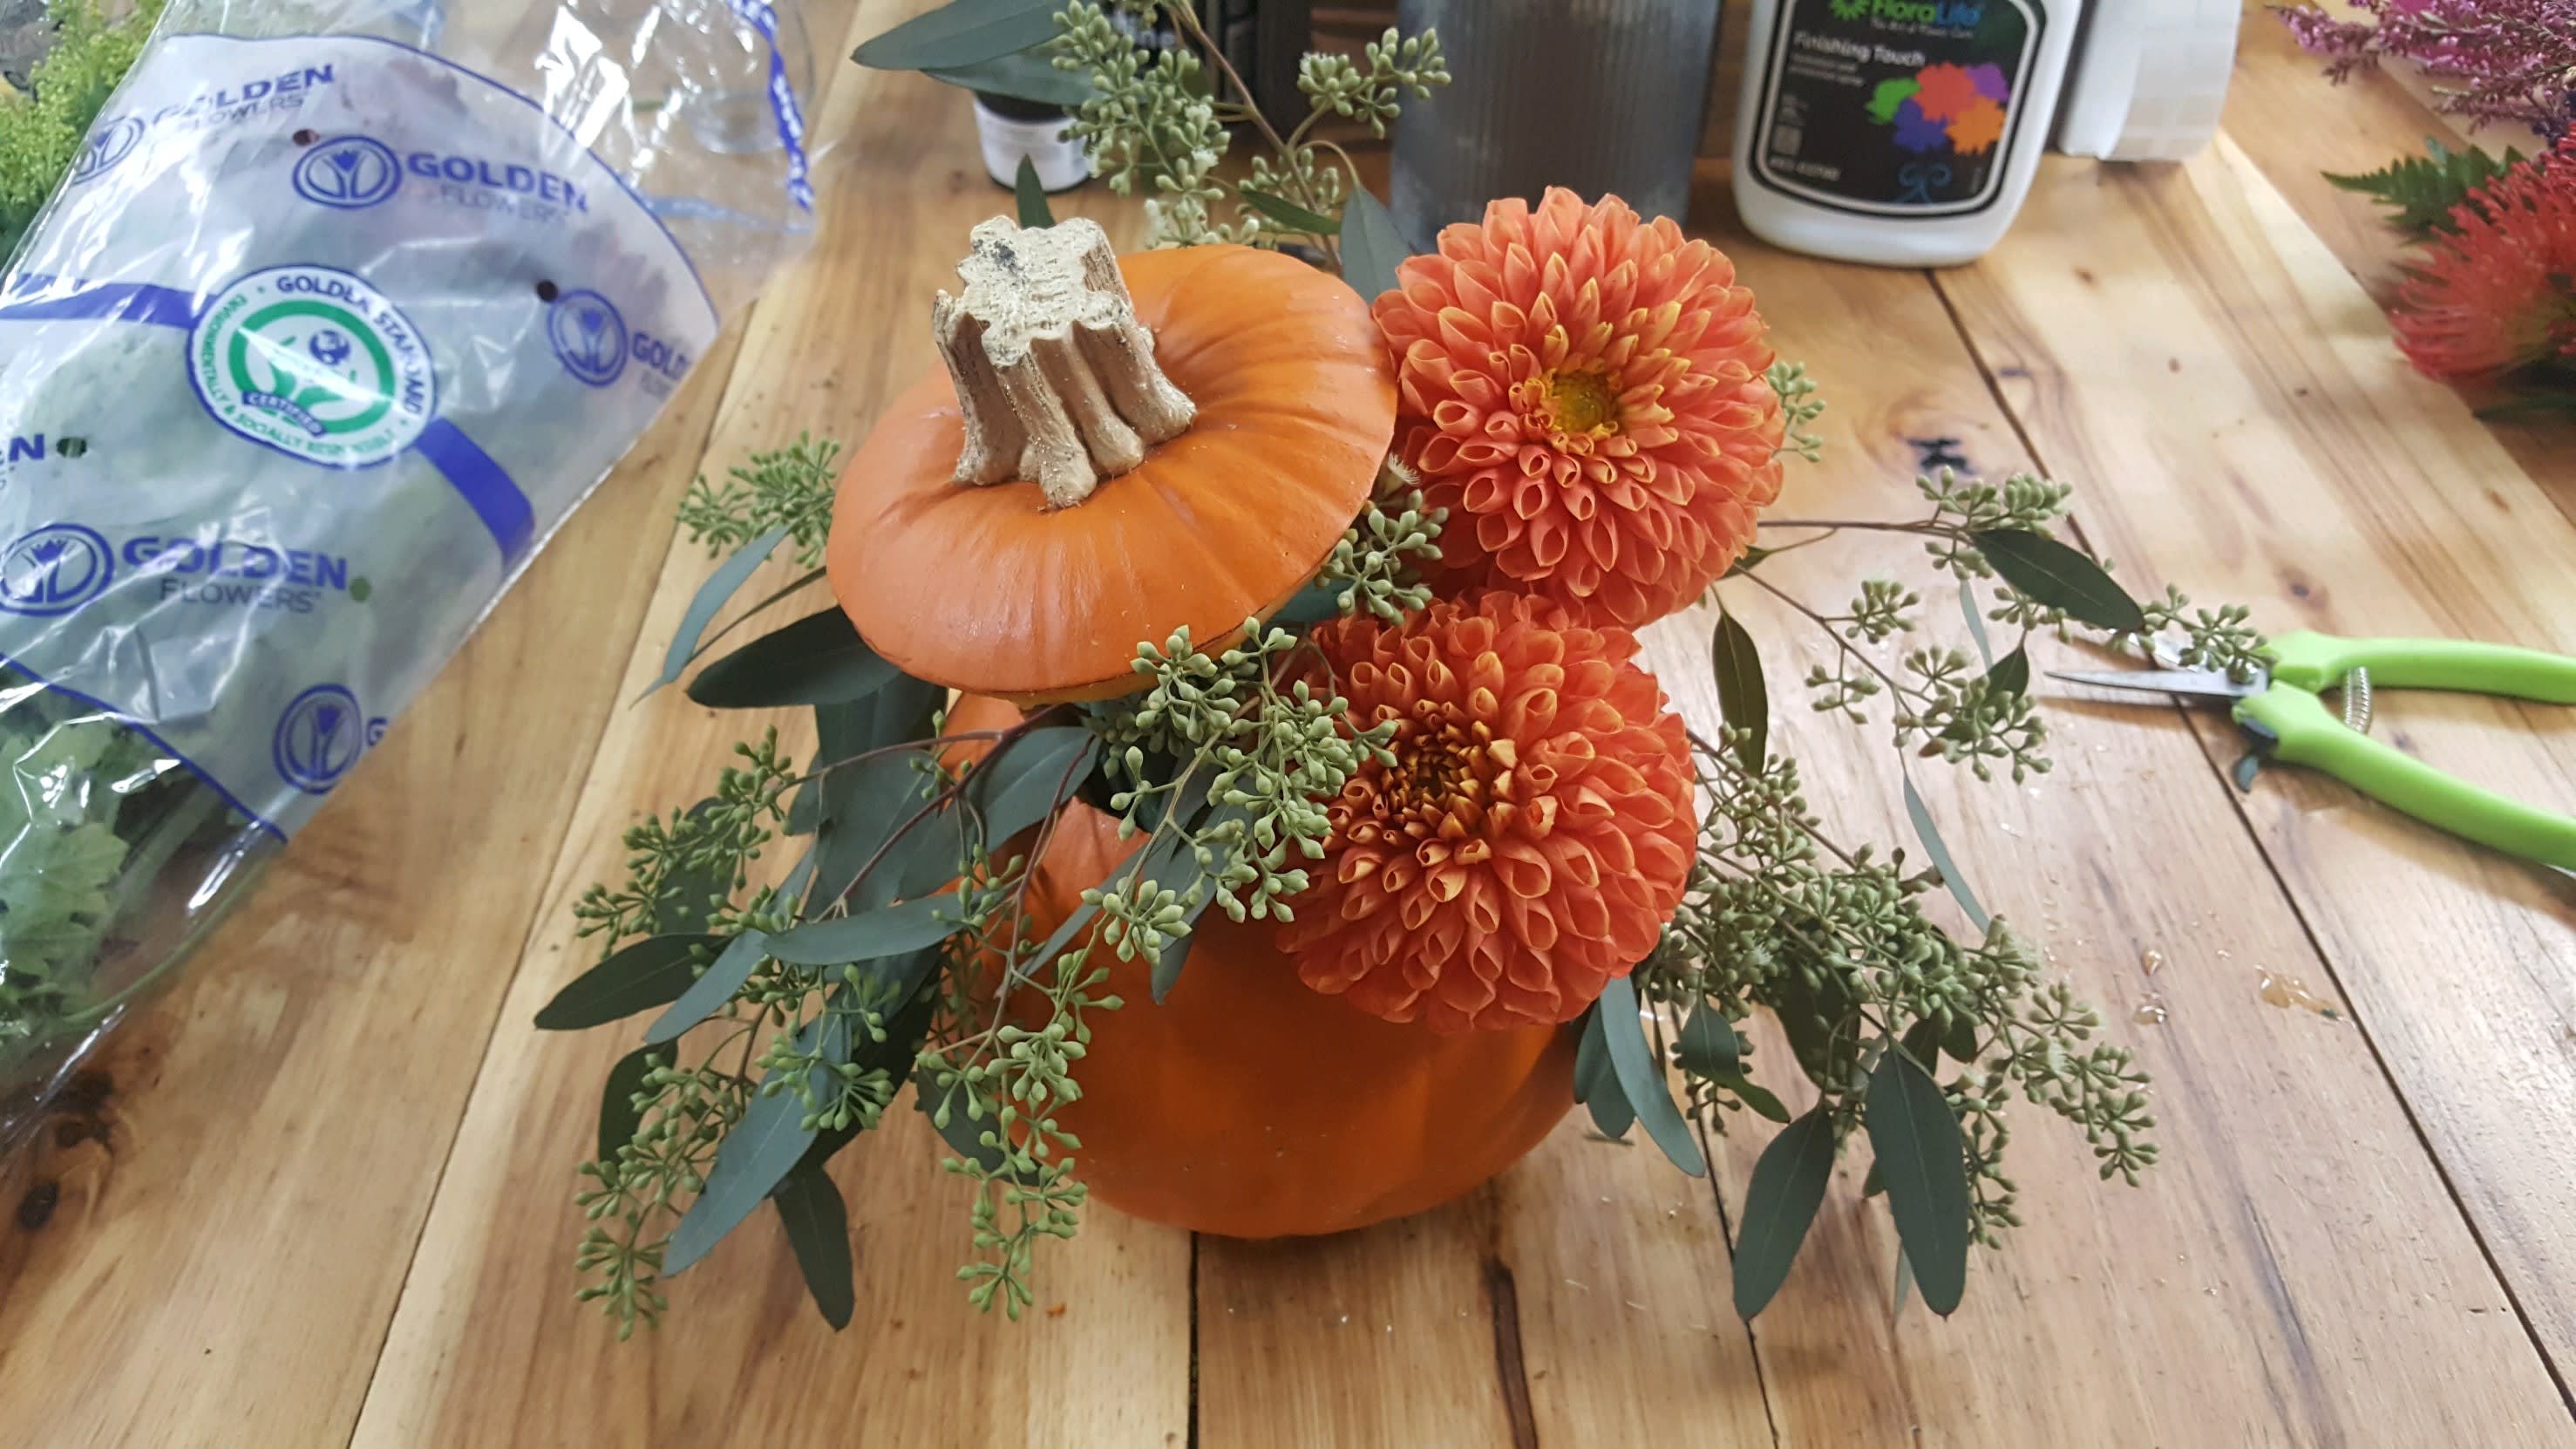
Step 8
Add the rest of you florals (allowing 2in-3in of stem to penetrate the foam).
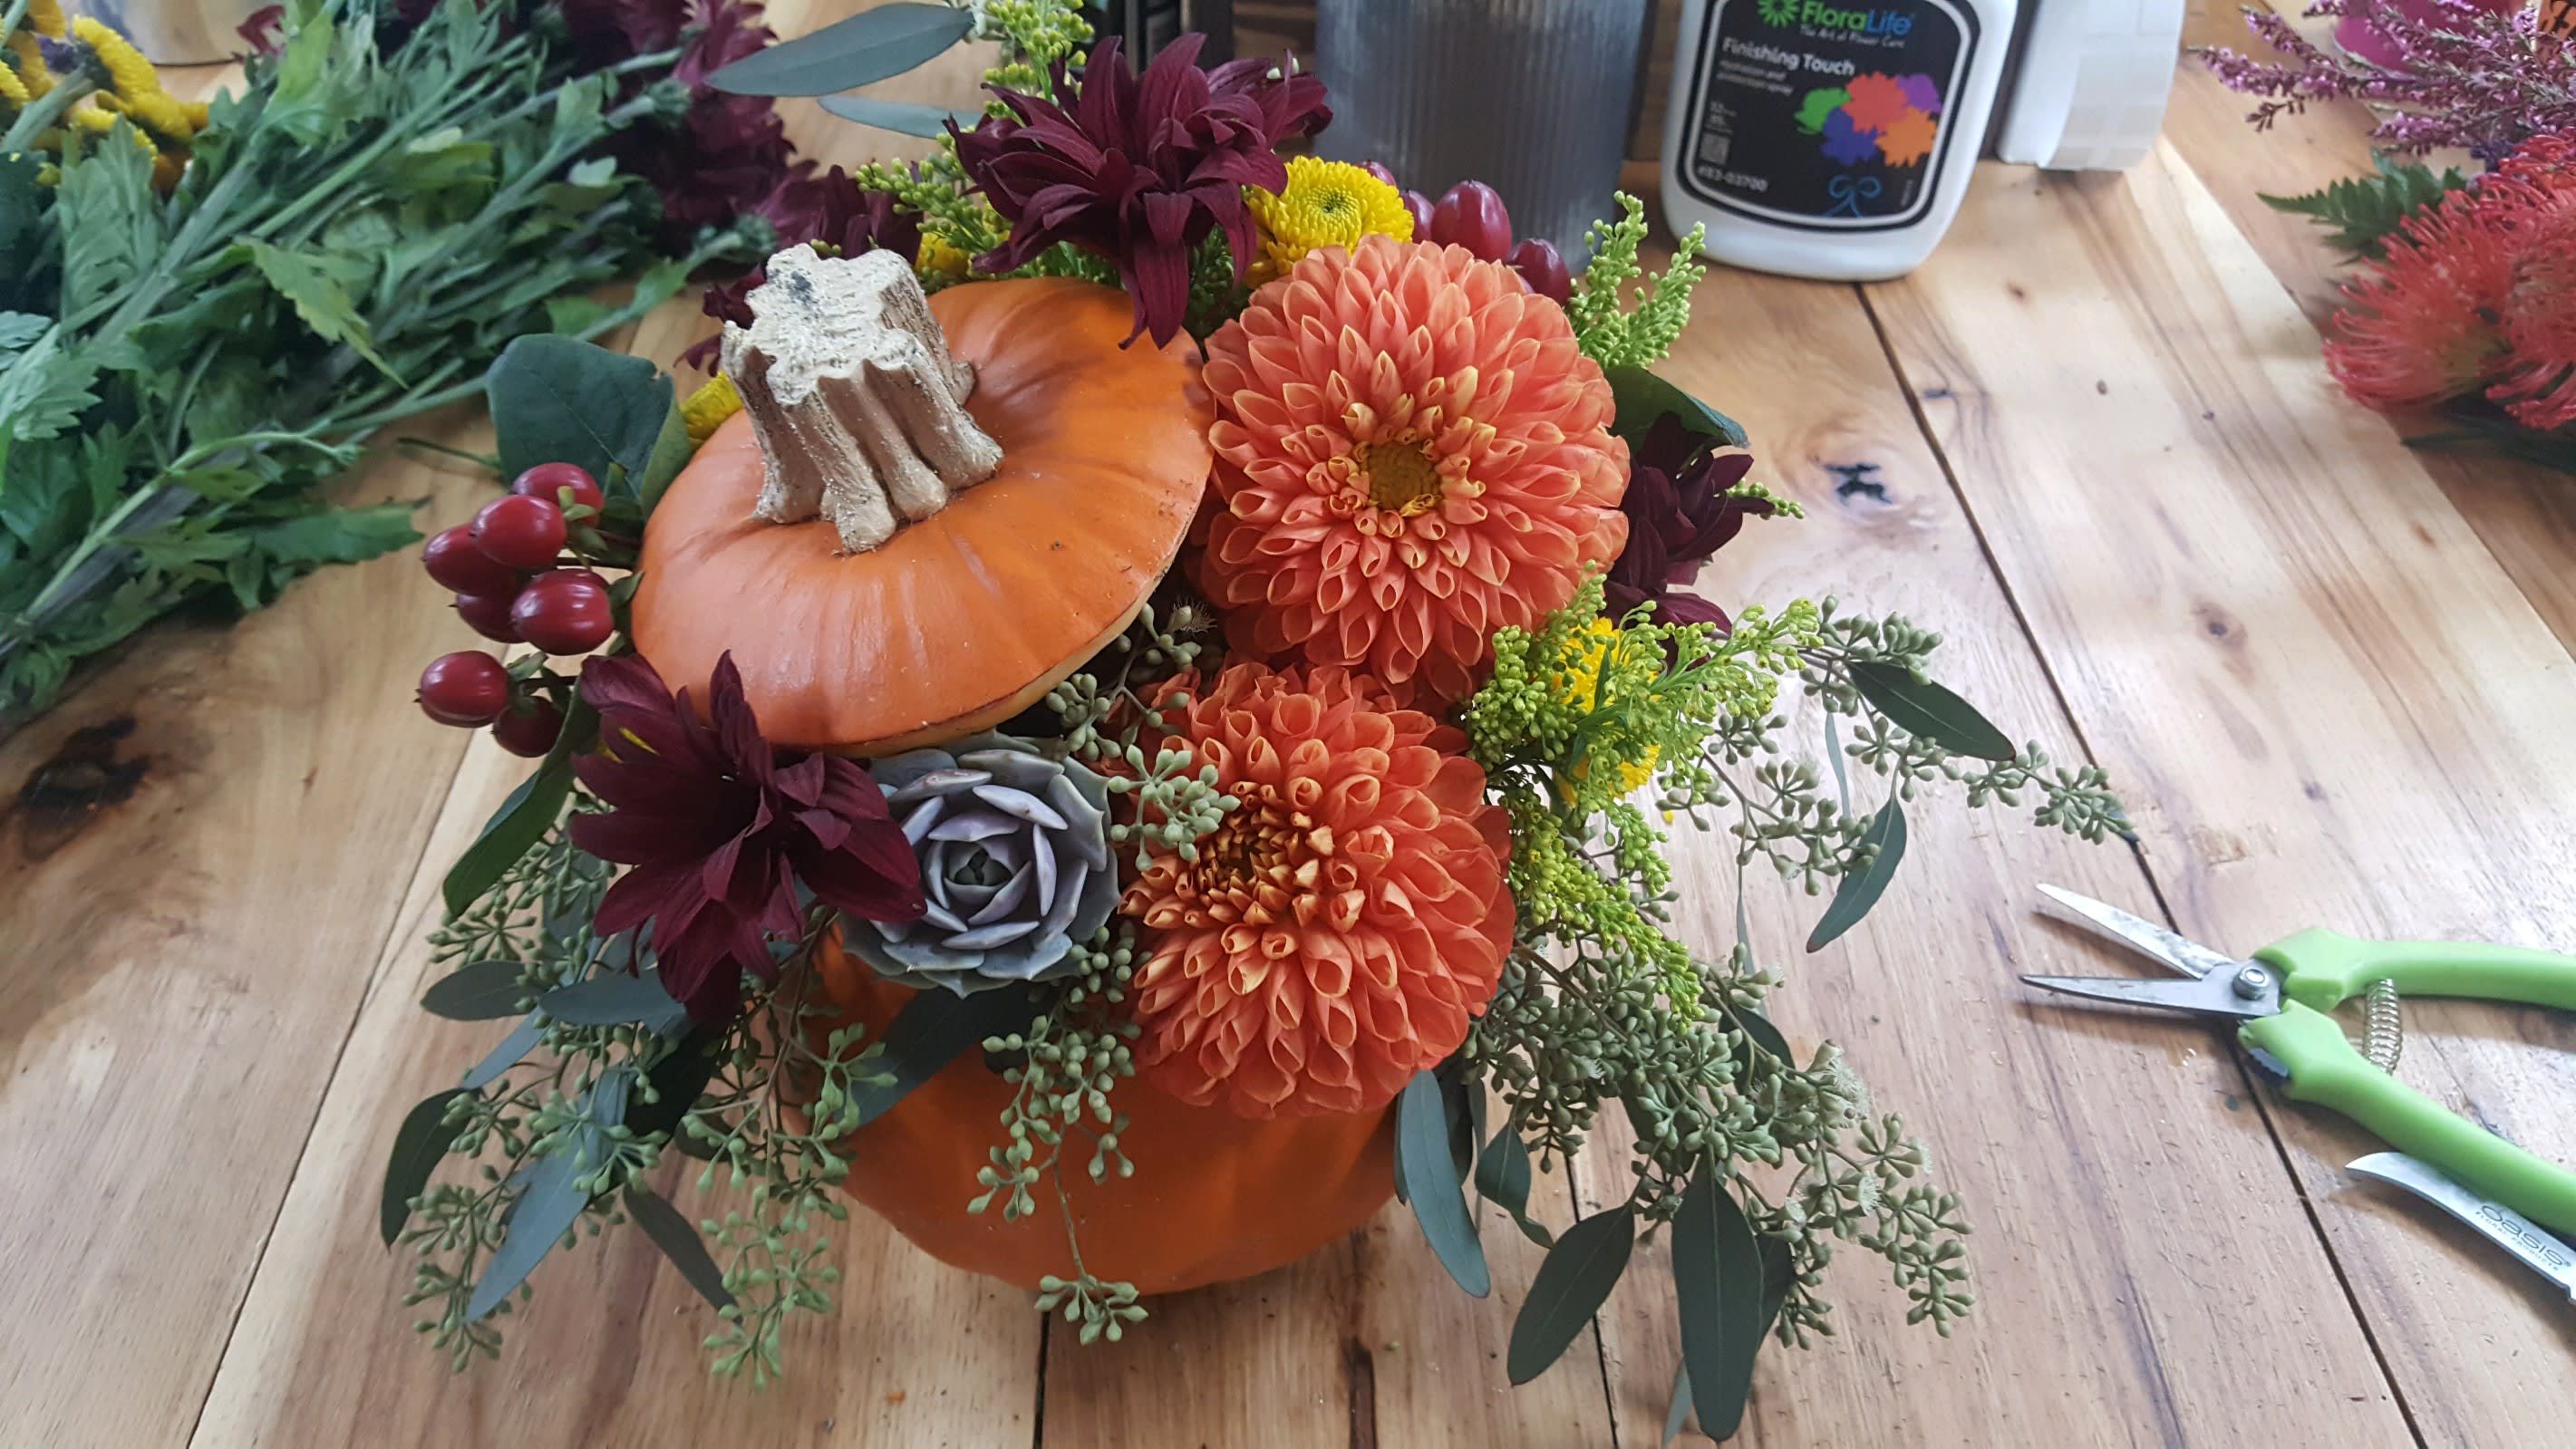
Step 9
Accent florals and fillers are the finishing touch.
